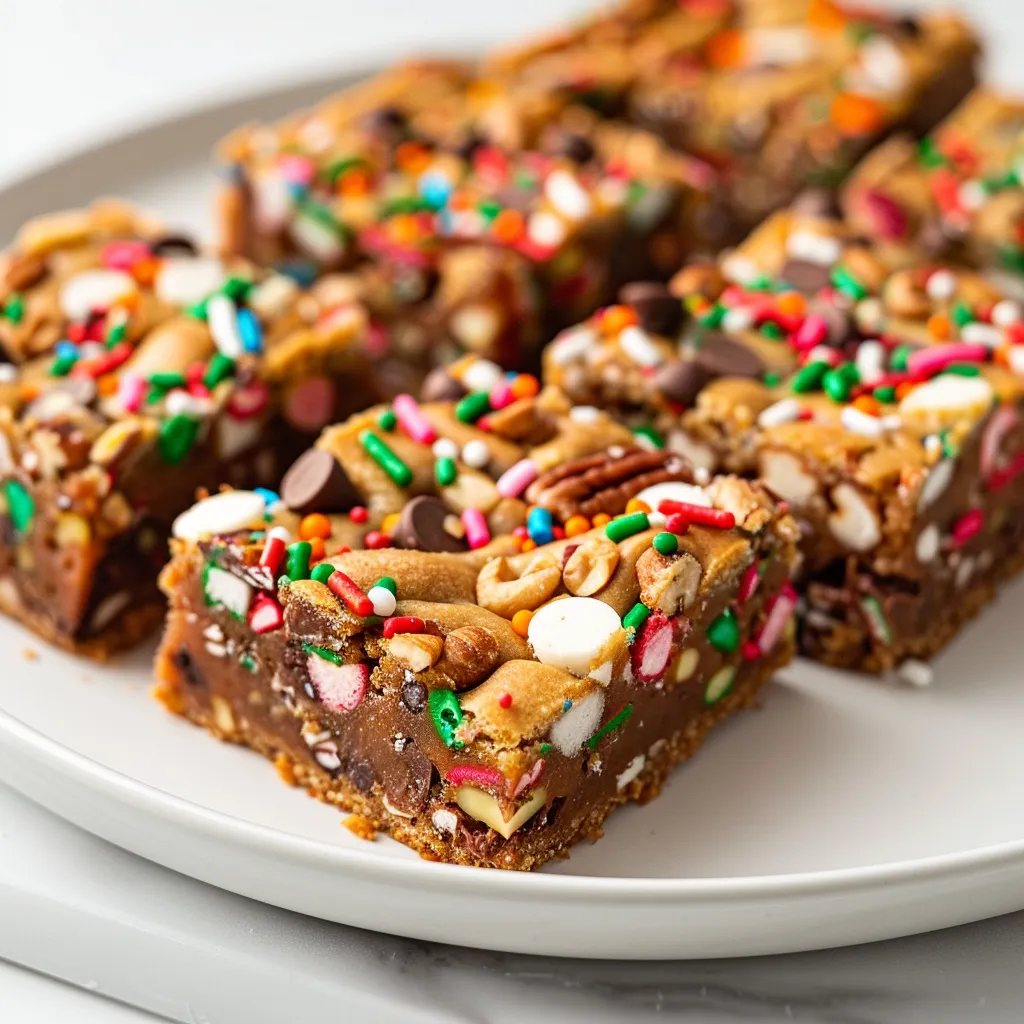
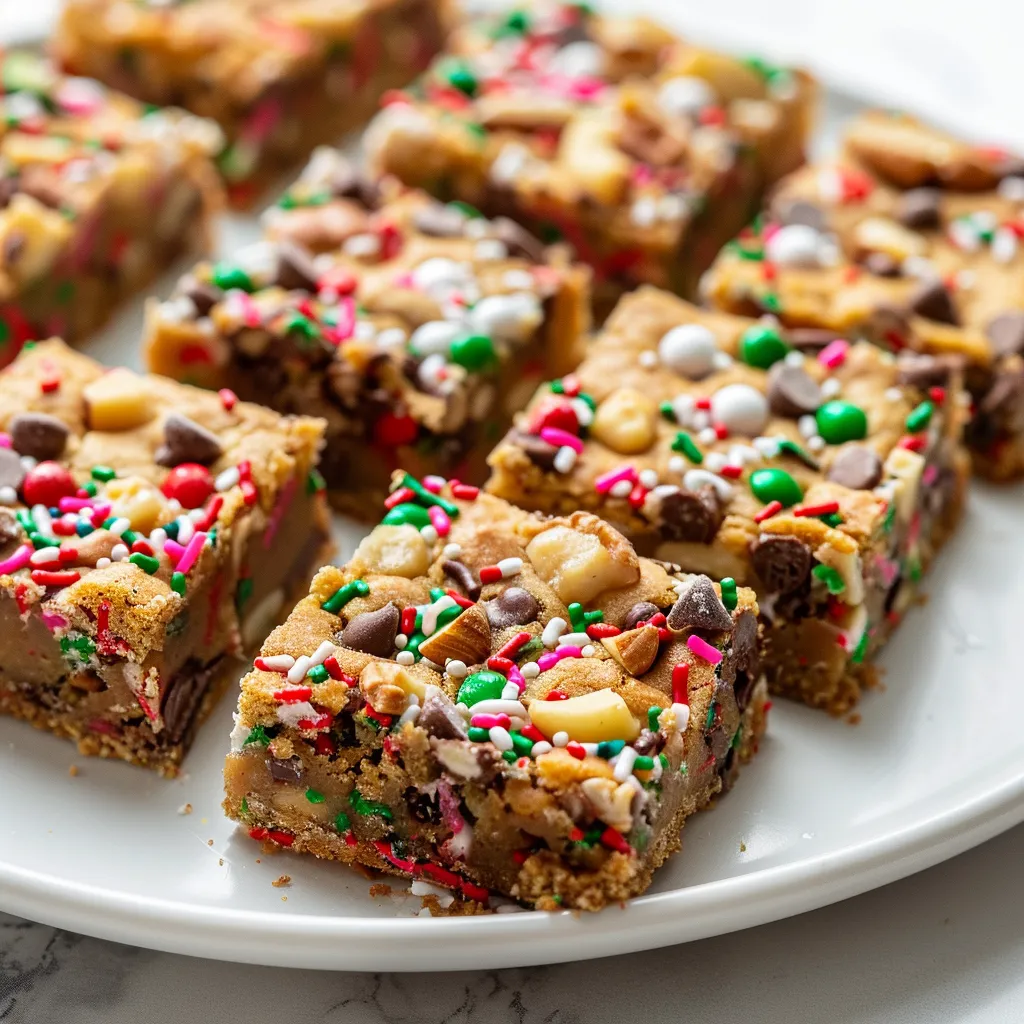
🎄 Ultimate Chewy Christmas Cookie Bars: The Genius of One-Pan Baking
Did you know that cookie bars, like this delightful recipe, offer a significant time-saving advantage of up to 60% compared to baking traditional drop cookies? This efficiency comes from eliminating the labor-intensive processes of scooping, spacing, and managing multiple baking sheets. This recipe, shared here by Rosa, combines the best elements of cookies and bars, providing a delightful treat that’s perfect for holiday gatherings, gift-giving, or simply enjoying at home with loved ones.
Created by Elowen Thorn and mastered in Rosa‘s kitchen, these Christmas Cookie Bars are designed to be a centerpiece of holiday cheer. With a rich flavor and a chewy texture, these cookie bars are sure to become a holiday favorite. The recipe relies on the scientific magic of the creaming method and the precise ratio of sugars to deliver a dense, soft, and chewy consistency. This comprehensive guide ensures you master the technique of avoiding overmixing to guarantee tender bars and achieve the perfect golden-brown finish every time.
🧈 Ingredients for Richness, Chew, and Festive Flair
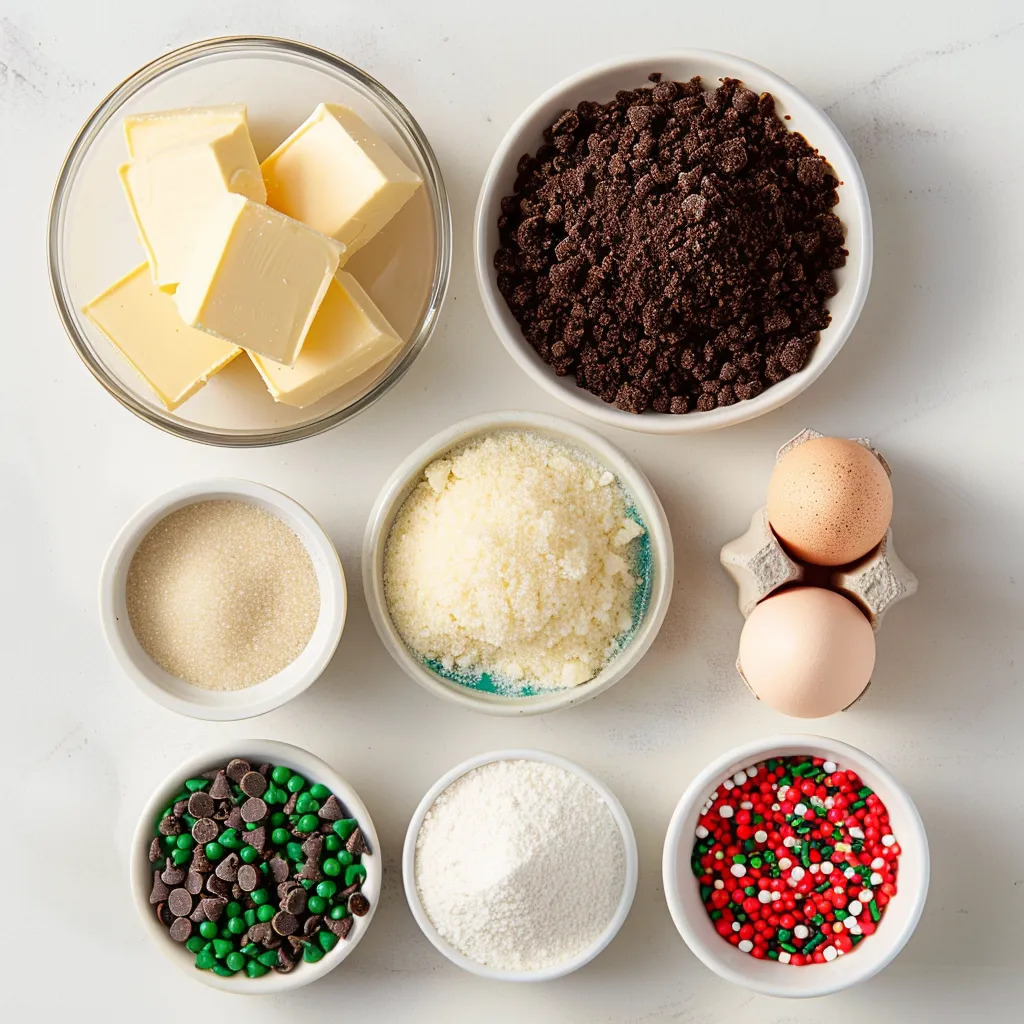
The deep, satisfying flavor and ideal chewy texture of these Christmas Cookie Bars are achieved through a high ratio of fat and the dual use of granulated and brown sugars.
| Ingredient | Quantity | Component | Notes & Details |
| Unsalted Butter, softened | 1 cup | Fat/Moisture | Must be softened for optimal creaming; crucial for flavor and moisture. |
| Granulated Sugar | 1 cup | Sweetener/Spread | Promotes spreading and crisping of the bar edges. |
| Brown Sugar, packed | 1 cup | Sweetener/Moisture | Essential for chewiness and soft texture due to its molasses content. |
| Large Eggs | 2 | Binder/Emulsifier | Binds the ingredients and adds structure. |
| Vanilla Extract | 2 teaspoons | Aromatic | Provides crucial aromatic depth. |
| All-Purpose Flour | 3 cups | Structure | The primary structural base. |
| Baking Powder | 1 teaspoon | Leavening Agent | Provides lift for a soft, slightly cakey texture. |
| Baking Soda | 1 teaspoon | Leavening Agent | Works with the acid in brown sugar to promote spread and tenderness. |
| Salt | 1/2 teaspoon | Flavor Enhancer | Balances the high sugar content. |
| Chocolate Chips | 2 cups | Mix-in | Provides pockets of melted, rich chocolate. |
| Chopped Nuts | 1 cup (optional) | Mix-in/Crunch | Adds an earthy crunch and flavor. |
| Festive Sprinkles | 1/2 cup | Decoration | Used to top the bars for a festive appearance. |
Ingredient Functionality Deep Dive: This recipe employs a dual leavening system with 1 teaspoon of baking powder and 1 teaspoon of baking soda. This combination is crucial for achieving the perfect texture: the baking soda reacts with the molasses in the brown sugar to create tenderness and spread, while the baking powder ensures a reliable, uniform rise across the 9×13 inch pan. The equal parts of granulated sugar (1 cup) and brown sugar (1 cup) guarantees the perfect chewy texture, as the brown sugar locks in moisture better than white sugar alone.
Recipe Timing: The Efficiency of the One-Pan Method
The total time for these Christmas Cookie Bars is remarkably short, given the generous yield, due to the single-pan baking method.
The Christmas Cookie Bars are efficient, requiring a Total Time of about 50 minutes, with an active Prep Time of approximately 20 minutes. The Cook Time is approximately 25-30 minutes. A key insight is that using a single 9×13 inch pan eliminates the need for managing multiple batches, saving over an hour compared to traditional cookie methods. The baking is followed by a brief 10 minutes of cooling in the pan.
Step-by-Step Instructions: Mastering the Chewy Texture
The critical steps for these chewy cookie bars involve proper creaming technique to ensure tenderness and careful handling to prevent a tough, overmixed texture.
Step 1: Prepare the Oven and Baking Pan
Preheat your oven to 350℉ (175℃). Line a 9×13 inch baking pan with parchment paper, ensuring some overhang on the sides for easy removal. Crucial Technique: This parchment paper overhang is essential for lifting the entire slab of bars out of the pan easily once cooled.
Step 2: Combine Wet and Dry Ingredients Separately
In a medium bowl, whisk together the flour (3 cups), baking powder (1 teaspoon), and salt (1/2 teaspoon) until well combined. In a separate, large bowl, cream together the softened butter (1 cup) and sugars (1 cup granulated, 1 cup brown) until light and fluffy. Then, mix in the eggs (2) and vanilla extract (2 teaspoons) until fully incorporated.
Step 3: Mix Batter and Add Mix-Ins
Gradually add the dry ingredients to the wet mixture. Crucial Mixing Rule: Mix only until just combined, being careful not to overmix. Overmixing develops gluten, which will result in tough, dense bars instead of the desired chewy texture. Fold in your choice of mix-ins, such as chocolate chips (2 cups), nuts (1 cup), or dried fruit, ensuring they are evenly distributed throughout the batter.
Step 4: Bake and Cool Completely
Pour the batter into the prepared baking pan, spreading it evenly into the corners and smoothing the top. Bake for 25-30 minutes, or until a toothpick inserted into the center comes out clean. Once baked, remove the pan from the oven and let it cool in the pan for about 10 minutes. Then, lift the bars out using the parchment paper and allow them to cool completely on a wire rack. Tailored Advice from Rosa: Only cut the cookie bars into squares or rectangles once they are fully cooled. Cutting warm bars will cause them to crumble.
Nutritional Information
This Christmas Cookie Bars recipe is a rich holiday indulgence, characterized by high caloric density and a focus on comforting fats and carbohydrates.
This recipe yields approximately 24 generous cookie bars. While precise calorie data is not provided, an analysis based on the ingredients (1 cup butter, 2 cups sugar, 2 cups chocolate chips) suggests a high caloric content, likely between 250-300 kcal per generous serving. The bars are rich in Total Fat, primarily sourced from the 1 cup of unsalted butter and the 2 cups of chocolate chips. The Carbohydrate Content is high, driven by the 3 cups of all-purpose flour and the 2 cups of combined sugars. Given the ingredients, the bars offer low levels of protein and minimal dietary fiber, underscoring their role as a decadent dessert designed for enjoyment during the festive season.
Healthier Alternatives for the Recipe
To adapt these chewy cookie bars for a lighter profile, focus on reducing the primary sources of fat and sugar while maintaining the tender, moist texture.
-
Saturated Fat Reduction: Substitute half of the softened butter (1/2 cup) with unsweetened applesauce or a neutral-flavored oil (like avocado oil). This significantly reduces the saturated fat while the remaining butter ensures flavor.
-
Sugar Management: Reduce both the granulated sugar (1 cup) and brown sugar (1 cup) by 1/4 cup each. To retain moisture, increase the vanilla extract slightly (an extra 1/2 teaspoon) or swap the reduced sugar with a baking-friendly zero-calorie sweetener (e.g., Monk Fruit).
-
Fiber Boost: Substitute 1 cup of the all-purpose flour (3 cups total) with whole wheat pastry flour. This is a safe swap that increases the fiber and nutrient content without leading to a tough texture, provided you still avoid overmixing.
-
Mix-in Swaps: Substitute 1 cup of the chocolate chips with dried cranberries, raisins, or unsweetened cocoa nibs to reduce the total added sugar while retaining the textural contrast.
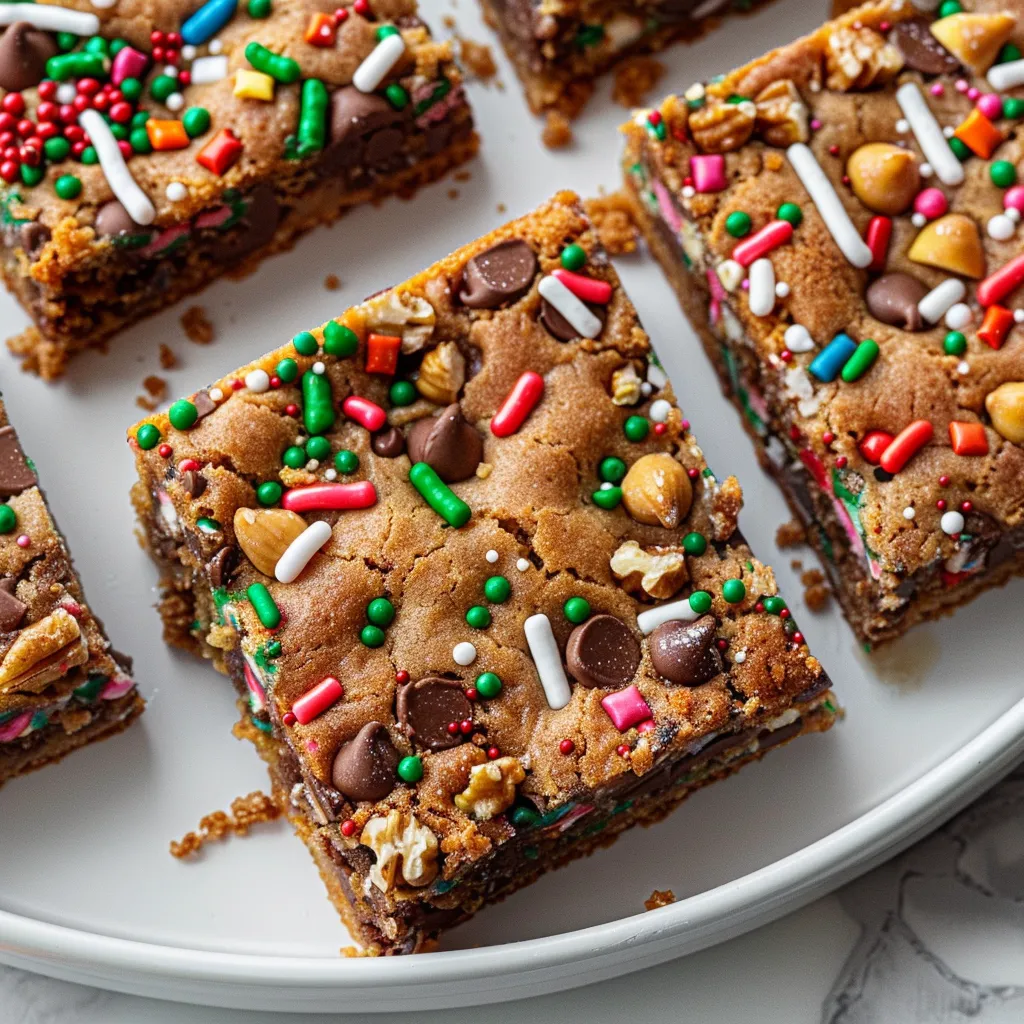
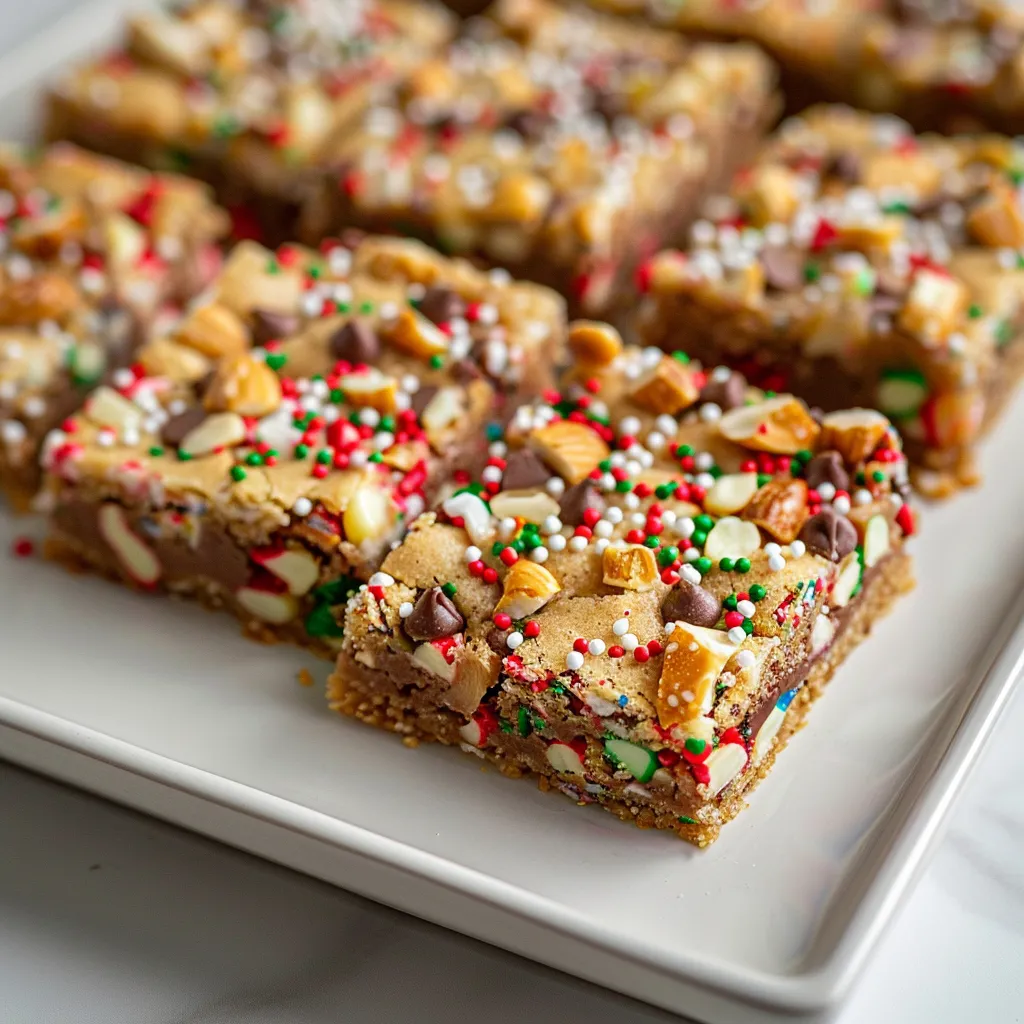
Serving Suggestions: Gifting and Festive Display
The Christmas Cookie Bars are perfectly suited for both easy home enjoyment and elegant festive presentation or gifting.
-
Gourmet Gifting: Cut the cooled bars into neat rectangles, stack them two or three high, and wrap them individually in clear cellophane bags tied with festive ribbon. These make excellent host gifts or party favors.
-
Dessert Display: Arrange the bars on a tiered holiday platter alongside small bowls of coconut flakes, white chocolate chips, or butterscotch chips for optional extra toppings.
-
Warm Dessert Service: Serve the bars slightly warm (microwaved for 10-15 seconds) with a scoop of vanilla ice cream and a drizzle of caramel sauce. The center will become molten and gooey.
-
Personalized Tip from Rosa: For an extra layer of festive color and contrast, swirl a thin layer of cream cheese frosting over the cooled bars before cutting, then immediately sprinkle with extra festive sprinkles.
Common Mistakes to Avoid: The Integrity of the Bar
Success with this recipe depends on managing gluten development and ensuring the bars maintain their clean, structural integrity after baking.
-
Overmixing the Dough: This is repeatedly stressed because it is the most critical error. Overmixing the batter after adding the 3 cups of flour will develop gluten, resulting in a tough, dense, or rubbery texture instead of the desired rich flavor and chewy texture.
-
Cutting Before Cooling: The bars must cool completely before cutting. Cutting warm bars will cause them to crumble, lose their shape, and result in a messy presentation. The 10 minutes of cooling in the pan is just the start.
-
Insufficient Pan Prep: Failing to properly line the 9×13 inch pan with parchment paper and leaving an overhang makes removal difficult. The parchment paper creates the necessary structural lift to remove the whole slab without damaging the corners.
-
Incorrect Doneness Cue: Relying solely on the timer can lead to an undercooked center. The bars are done when a toothpick inserted into the center comes out clean. The edges should be golden brown.
Storing Tips for the Recipe: Maximizing Freshness and Longevity
These Christmas Cookie Bars are highly suitable for making ahead, offering long storage life both at room temperature and in the freezer.
-
Room Temperature Storage: Store the cooled bars in an airtight container at room temperature for up to a week for optimal freshness. The high fat and sugar content helps preserve moisture.
-
Refrigeration: While room temperature is best, the bars can also be stored in the refrigerator for longer freshness.
-
Freezing (Long-Term): These cookie bars can be frozen for longer storage. Wrap the cooled bars tightly in plastic wrap and place them in a zip-top bag or an airtight container before freezing. They can last for up to three months.
-
Thawing: Thaw frozen bars overnight in the refrigerator or for a few hours at room temperature.
Conclusion: A Simple Recipe, Endless Cheer
The Christmas Cookie Bars are a delightful treat that brings holiday cheer to any gathering. Their perfect combination of rich flavor and chewy texture makes them an essential addition to your festive celebrations. By following Rosa‘s precise guidance on mixing (until just combined) and cooling (completely before cutting), you ensure a flawless bar every time. With a simple recipe and endless variations, these bars are sure to become a favorite year after year. We invite you to try this ultimate one-pan recipe, share your favorite mix-in combination in the review section below, and subscribe to Savory Discovery for comforting recipes and stories from the kitchen!
FAQs: Quick Answers for Flawless Bars
Q1: How should I store the cookie bars for optimal freshness?
A: Store the bars in an airtight container at room temperature for up to a week for optimal freshness.
Q2: Can I substitute different types of flour?
A: Yes, you can substitute all-purpose flour with alternatives such as whole wheat flour or gluten-free flour, though you may need to adjust measurements slightly based on the alternative’s absorption rate.
Q3: How do I ensure the cookie bars remain tender and not tough?
A: The most important cook technique is to avoid overmixing the dough after adding the dry ingredients. Mix only until the wet and dry ingredients are just combined.
Q4: Can I freeze the baked cookie bars?
A: Yes, you can freeze the baked bars for longer storage, up to three months. Wrap them tightly in plastic wrap and place them in a zip-top bag or an airtight container before freezing.
Q5: When should I cut the cookie bars?
A: You must allow the cookie bars to cool completely—first in the pan for 10 minutes, and then on a wire rack—before cutting to prevent crumbling.
Q6: What topping ideas can I use besides chocolate chips?
A: You can experiment with various toppings and mix-ins, including white chocolate chips, butterscotch chips, or coconut flakes.